.svg "RPA-Site-Header-Logo (1)")
.svg "logo (2)")

Updated on March 28, 2022
Cellphone cameras have come a long way since the days of grainy, rear-facing selfies. Today, they offer high-quality photos with plenty of pixels. You can even edit images on your phone!
However, there's more to the perfect listing photo than what you're taking your pictures with. With the rise of 4K cameras available in consumer smartphones, it's no longer a debate about quality and more of a discussion of features. What do we mean by that?
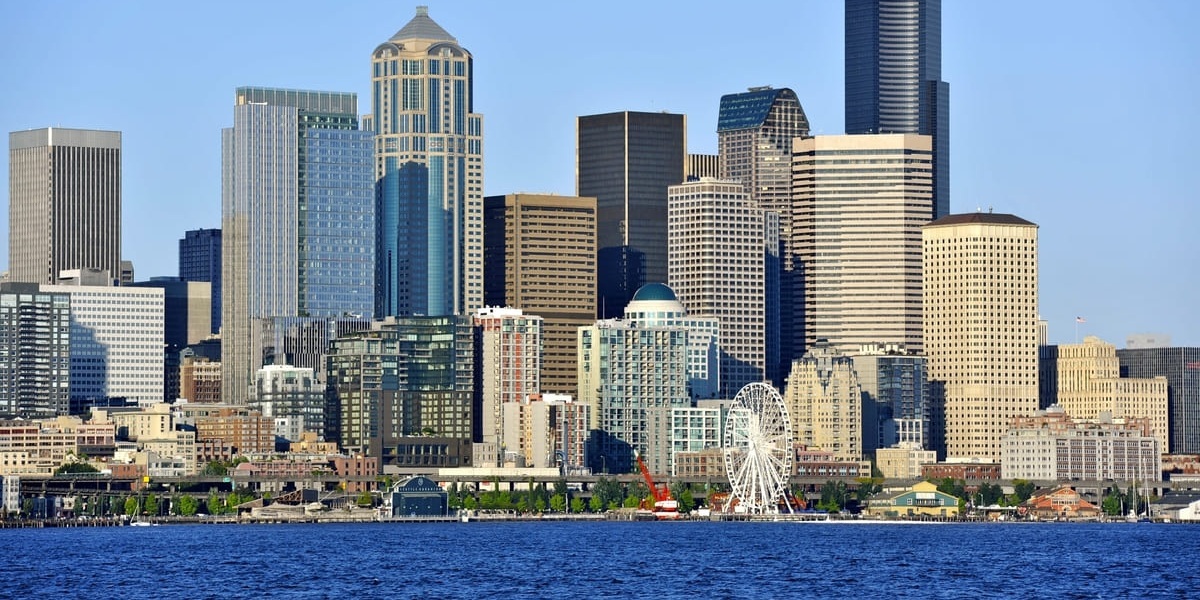
As the experts in Seattle rental management since 1991, we know there's always been more to the shots you take to represent your rental property than the camera you use to take them. Professional-quality photos are essential for attracting renters and making your listing stand out. So, check out these top photography tips to create the perfect rental property listing!
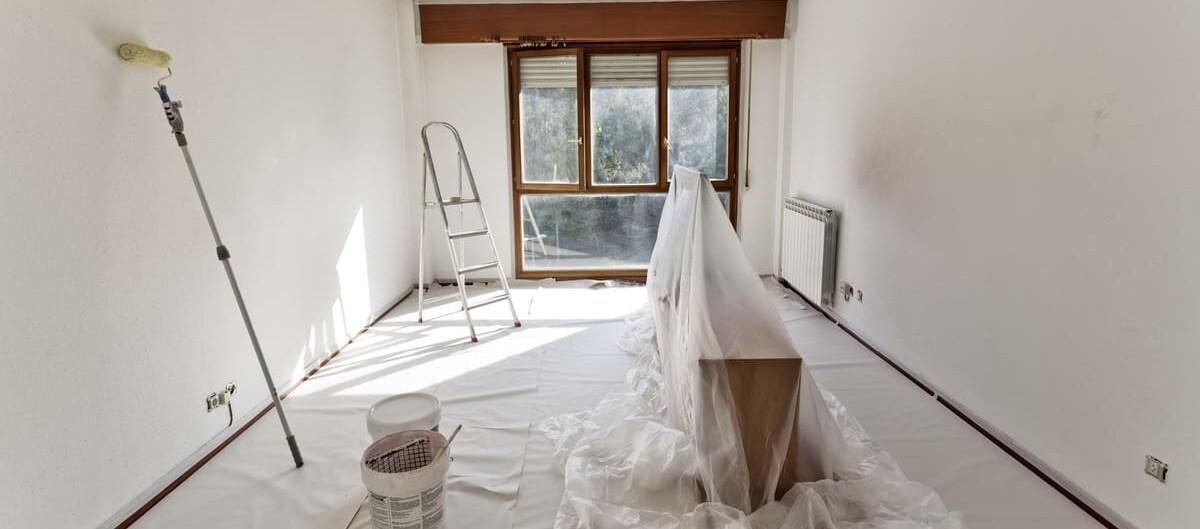
1. Lighting Before Camera Action
Good lighting is one of the most important factors for capturing photos that grab attention and showcase your property in the best possible way. Whether you're working with natural light or setting up artificial lighting, it’s worth taking the time to get it right before snapping photos.
- Lighting can make or break a photo: your listing photos should show every room in its best light.
- Natural sunlight is always the best choice for lighting a room. Sometimes, this means scheduling photos for different times of day—depending on when sunlight hits each room in the house.
- For rooms without windows—or if you don't have the flexibility to return to your property and take photos at different times of day—make sure to bring in lighting that can replicate natural light and turn on every light in the property.
- Capture the exterior of the property during the day. Slightly overcast conditions can often be the right amount of lighting while minimizing dramatic shadows on the outside of the property.
By paying close attention to lighting, you'll ensure your listing photos are bright, inviting, and professional—helping your property stand out to potential renters scrolling through listings.
2. Ready the Room
Don't be that property that ends up on a viral list of bad real estate photos because you caught something strange in the background of your shot. Take some time to "ready" each room before the photo session!
- Put toilet seats and lids down and fluff up older carpeting.
- If you still have residents in the home, ask them to put laundry away.
- Remove furniture and decorations that make a room feel cluttered (stage carefully).
- Don't stand in front of mirrors, and avoid including yourself in shots of shiny surfaces.
- Clean, clean, and clean some more! You really can't overdo this one.
When your current residents give notice that they won't renew the lease, you might need to take your Seattle, WA property photos before they move out. Coordinating with them eases the transition and makes it more likely that you'll have rooms that are neat, clean, and inviting to a new renter when taking snaps.
3. It's All About Angles
You know a poorly-framed photo when you see one: when it's a picture of a room, it feels cramped and unappealing. No matter the size of the room, shoot photos at an angle that makes it feel as big and welcoming as possible.
- Choose a corner that shows the best and most open view of the room.
- Avoid standing with your back against a wall: this angle can shorten the depth perception, especially in a smaller room.
- Be careful not to shoot from too high or too low: this changes the point of view and skews the shape of a room.
If you're not sure of the best angles for a room, shoot photos from several places and angles, and then compare them. You'll know the best options when you see them!
4. Honesty Is Still the Best Policy
Potential residents expect the property photos they see online to match what they experience in person during a showing. If your property needs work, address it through renovations—not deceptive photo editing. While skilled editing has its place, it should never mislead potential applicants.
Ensure all photos accurately represent each room and exterior area of the property. Avoid excessive editing; for example, if there’s a crack in the living room ceiling, don’t digitally erase it to create an unrealistic image. Transparency builds trust and sets the right expectations for renters.
Photos edits can include:
- Toggling the brightness or contrast to match reality.
- Adjusting the white balance for accurate color representation.
- Cropping to better frame a room for your property listings.
Never change the color of the walls or flooring, and don't erase flaws—fix them.

5. Use a Professional
In today’s point-and-shoot culture, taking high-quality photos with a cellphone might seem easy—but there’s no substitute for the expertise of a professional real estate photographer. If creating better listings feels overwhelming, hiring a professional can save you time and ensure exceptional results.
Professional real estate photographers bring the right equipment, experience, and techniques to highlight your property’s best features. They understand how to light and frame each room to create inviting, eye-catching images.
In a competitive rental market where your online listing is often the first impression, showcasing your property with professional-grade photos can set you apart and attract high-quality tenants faster. It's a small investment that can lead to bigger returns and fewer vacancy days.
Seattle Rental Management Can Guide You to Perfect Listings
The perfect listing for your property is the one that helps get it rented quickly with a new, high-quality resident! Keep in mind that while the photos you use to represent your Seattle properties are crucial to filling them with new renters, they're not the only element of your listing that matters.
When it's time to create the perfect property listing, Seattle rental management can be the guide you need to help your properties rise above the pack. Real Property Associates has you covered: you can learn more about what it takes to craft an expert listing for FREE with our Property Listing Checklist!
There's no reason to fall behind the competition when it comes to your listings; as the first thing a potential renter sees, you need to nail it—and we can show you how.

.jpg)

.jpg)